Search This Blog

Showing posts with label cake. Show all posts

Wednesday, May 11, 2016

When it all goes wrong.....

Here's todays effort ~ almond & cherry bundt cake. It all went wrong, but I wanted to show it so you know that my baking is sometimes a failure. I did a pretty good rescue job on it. A shame because this is a really lovely cake and I have used that tin more times than I can remember and have never had an issue with it. This is a very traditional English kind of cake and is quite moist and not too sweet. When you have mixed it up it will seem to be quite a thick consistency, that's how it's supposed to be.

The cake, fresh from the oven ~ I greased the tin with melted butter using a pastry brush, popped it in the fridge for a few minutes and greased it again, then floured it generously. Baked then cooled in the tin for 10 minutes.


The top if the cake was left behind in the tin! Never mind, I can patch this up.


A bit of almond flavoured glace icing drizzled over and the top scattered generously with toasted flaked almonds.


There we go ~ I don't think anyone will really notice. Crisis over.


Cherry & Almond Bundt Cake

You will need a 23cm bundt tin, well greased and floured (see pics above).

For the cake:
150g glace cherries, quartered
225g self raising flour
175g soft unsalted butter, plus extra for greasing the tin
175g caster sugar
50g ground almonds
3 large free range eggs
1 teaspoon almond extract

For the decoration:
175g icing sugar
water
15g flaked almonds, toasted
few drops almond extract

Pre heat the oven to 180deg C, 350 degF, gas mark 4.

Cream the butter for a minute or so, then add all the other cake ingredients to the bowl except for the cherries. Beat for a minute until smooth.

Spoon half the mixture into the tin and smooth it out as best you can, sprinkled the quartered cherries over the top of then put the rest of the cake mixture over the cherries, gently spread it evenly with the back of a spoon.

Pop it into the oven and bake for 35 - 40 minutes, it will be golden brown, well risen and feel pretty firm when you press it with a finger.

Leave it to cool in the tin for 10  minutes, then run a flat bladed knife around the sides of the tin. Lay a wire rack over the top of the tin and quickly invert the cake. I find a sharp tap on the bottom of the tin will (usually) release the cake. Let it cool completely, then mix the ingredients for the icing together, using just enough cold water to give a nice smooth and thick consistency. Drizzle it over the cake and sprinkle with the flaked almonds.

Sunday, April 10, 2016

Mocha Cupcakes

Chocolate and coffee what a great combination! These are for the Guild Area open day tomorrow.

I think there's nothing worse than getting one of those delicious looking, expensive, fancy decorated cupcakes and realising you can't eat it because it's basically 50% bland tasteless packet mix cake and 50% over-sugary buttercream.

Another thing that irks me is how you decide to bake some at home, follow a recipe to the t and end up with far less cakes than the recipe states but enough buttercream to frost 10 dozen cupcakes.

Well it's not going to happen here because this is one of my tried and trusted recipes, you will get perfect results with this and just enough buttercream frosting to cover 16-18 cupcakes, (unless you like it piled sky high then I would suggest you double it!)

These sweet little cupcakes are delicious, the cake part is nice and moist, very chocolatey with a background hit of coffee. The buttercream frosting is sweet, as buttercream always is, but this has a good depth of coffee flavour which cuts the sweetness nicely. They are easily decorated with cadbury's flake, as in the picture, but I have also just dusted these lightly with cocoa when I haven't had any flake chocolate.


For the Cupcakes:
1/2 cup hot freshly brewed strong coffee
11/2 teaspoons instant espresso or regular coffee
1/2 cup milk
1 teaspoon vanilla extract/essence
1 1/3 cups standard flour
1/3 cup cocoa
1 teaspoon baking powder
1/2 teaspoon baking soda
1/4 teaspoon salt
100g soft butter
1/2 cup granulated white sugar
1/2 cup light brown soft sugar
1 egg

For the Buttercream:
100g soft butter
2 cups icing sugar
1 teaspoon vanilla extract/essence
2 teaspoons instant coffee powder dissolved in 2 teaspoons hot water

The recipe makes 16 - 18 cakes, you will need a muffin tin/patty tin and paper liners. Pre heat the oven to 170 degrees c.

Mix the espresso powder into the hot coffee and stir until dissolved. Add the milk and vanilla then set aside.

Whisk together the flour, cocoa, baking powder, baking soda and salt.

Next cream the butter and sugars until light and fluffy, add the egg and beat well. Add the flour mixture in three batches, alternating with the coffee/milk mixture. Make sure the mixture is well blended.

Fill the paper cases 2/3 full. Bake the trays for 17 - 20 mins. They are cooked when they look well risen and spring back in the centre when you gently press them.

Cool in the tin for a few minutes then transfer to a wire cooling rack.

While they are cooling make the buttercream:
Whip the butter for 4-5 minutes until it becomes very pale and light, obviously this is much easier using an electric mixer. Then sift in the icing sugar and mix gently to start with, when it has all been incorporated add the vanilla and the coffee and whip/beat it for 2 minutes. It should be soft, light and smooth. Spoon it into a piping bag and decorate your cupcakes however you like. I piped a nice swirl on mine and crumbled some flake chocolate over the tops. The frosting can also be easily spread on with a knife if you prefer not to pipe.

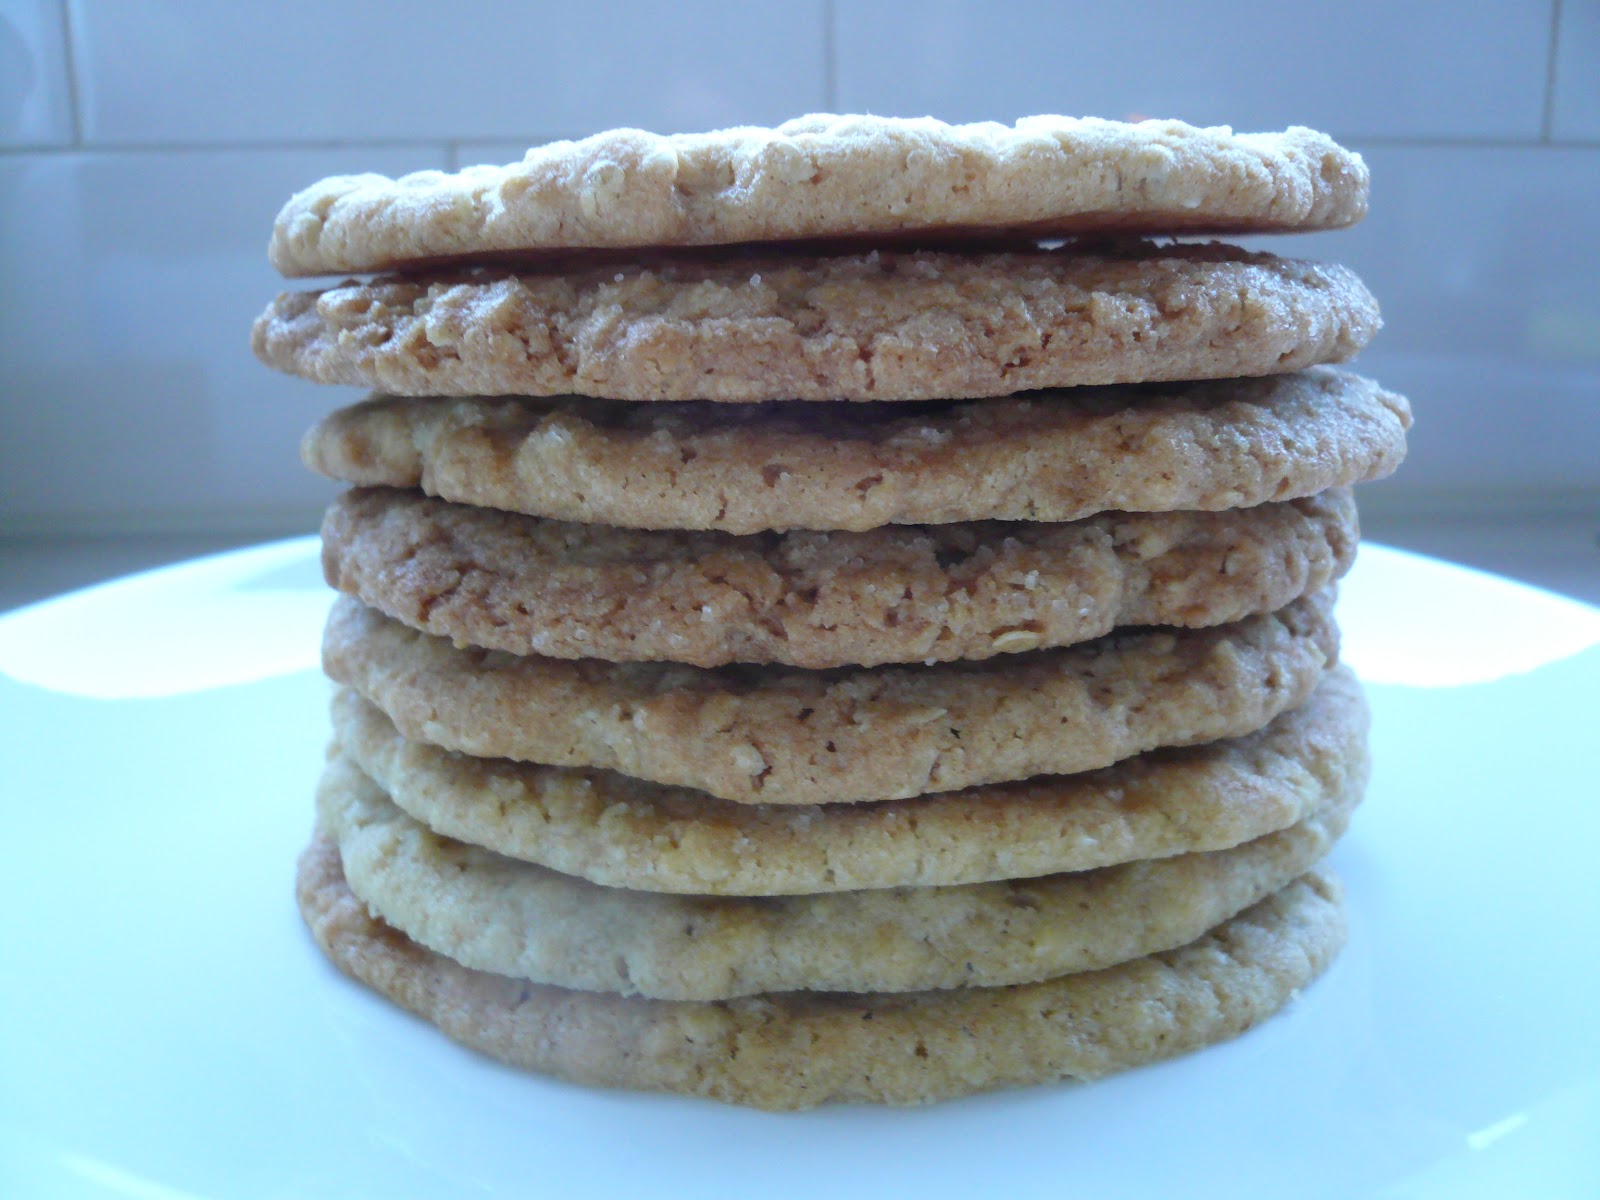
Then came the giant oatmeal cookies, but I'll tell you all about them next time.


Sunday, November 29, 2015

Sunday Baking...

A Sticky Orange Marmalade Cake.

Today's recipe is for a very classic British cake, it's essentially a Victoria sponge cake with the addition of marmalade. The topping is what takes it to the next level.

But first a few tips ~ using Seville Orange chunky marmalade, if you can get it, makes a big difference - the regular orange marmalade just makes the cake overly sweet. I make my own Seville Orange marmalade but I have seen it available in New Zealand, usually on the International isle in the supermarket. Duerr's and Frank Coopers are both good brands. Seville Oranges have a very bitter but strong orange taste.

The cake will seem to brown quite quickly, use a sheet of baking foil laid loosely over the top of the tin if you feel it's starting to go too brown. The cake is supposed to be a nice deep brown, but not burnt.

Whenever I'm baking I try to fill the oven as I'm too Yorkshire to put it on for a single item, that's why I often make 2 things at a time. It's no trouble to double the recipe and freeze the second cake or gift it, or bake something else at the same time that requires the same oven temperature. But that's just me!

When beating the butter and sugar together, beat it for a few minutes longer than you think it needs, this gives a very light and airy cake. The cake will rise up while baking into a high dome, but will then fall flat again (which is a sign that it's almost cooked).

For the Cake:
175g unsalted butter, softened
175g caster sugar
3 large eggs at room temperature, beaten
175g Self Raising Flour
1/2 teaspoon Baking Powder
1/2 teaspoon salt
3 tablespoons chunky Seville Orange Marmalade
2 tablespoons milk

To finish:
3 tablespoons Seville Orange Marmalade
50g Icing Sugar, sifted
Water to mix

Preheat the oven to 180 degC, gas mark 4

Grease a 9"cake tin and line the base with non stick baking paper.

Cream the butter and sugar together until light, fluffy and pale in colour.

Gradually beat in the eggs a little at a time, beating well after each addition. Add 1 tablespoon of flour with the last of the egg.

Sift the remaining flour with the baking powder and salt and gently fold into the cake mixture with a large metal spoon, then gently stir in the marmalade and milk.

Spoon the mixture into the tin and smooth the top as evenly as you can.


Bake for 50 - 60 minutes or until nicely browned and firm to the touch. remove from the oven and run a flat bladed knife around the inside of the tin to loosen. Leave to cool for 15 minutes then carefully turn out onto a wire rack to cool, right side up.


Warm the marmalade (this can be done in the microwave on low power) and gently brush it over the top of the cake. Allow the cake to cool completely before icing:


Add a little water to the icing sugar and mix to a smooth and runny consistency. Drizzle it over the cake allowing it to run down the sides a little. Leave it to set.


This cake will keep in an airtight container for up to 5 days, but I bet it doesn't last that long.